Mounting a projector without drilling can be a challenge, especially if you live in a rental property or simply prefer not to make permanent alterations to your walls or ceiling.
However, some alternative methods and techniques allow you to securely mount your projector without the need for drilling.
In this guide, we will explore various techniques on how to mount a projector without drilling.
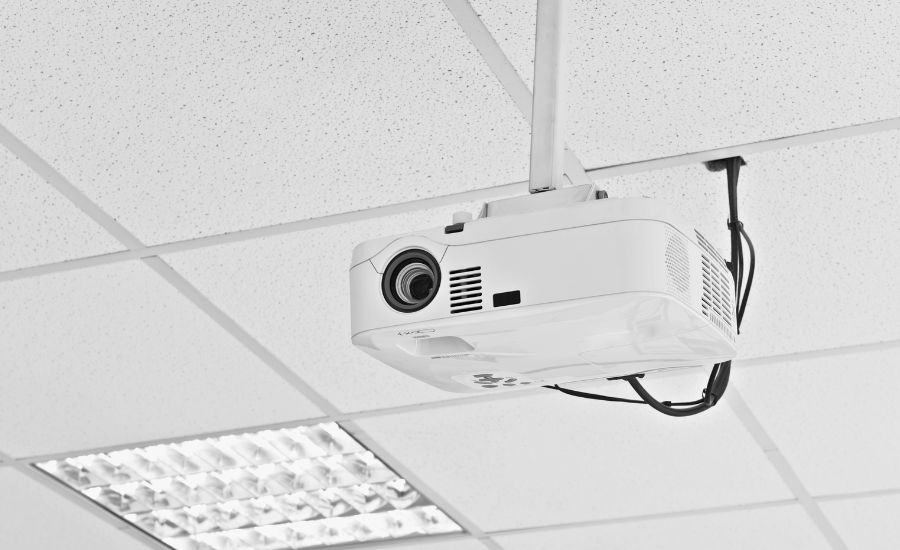
Methods how to mount a projector without drilling
They’re various options for how to mount a projector without drilling holes:
Tripod stand
Another way to mount projectors is a tripod stand that can serve as a portable and adjustable mount for your projector.
Look for a tripod with a compatible mounting plate or adapter for your projector model. Attach the projector securely to the plate and adjust the tripod’s height and tilt to achieve the desired projection angle.
Ceiling grid clips
If you have a drop ceiling with a grid system, ceiling grid clips can be a convenient solution.
These clips attach to the grid and provide a secure ceiling mount point for your projector.
Choose clips that are compatible with your projector’s size and weight, and ensure they are properly attached to the grid before mounting your projector.
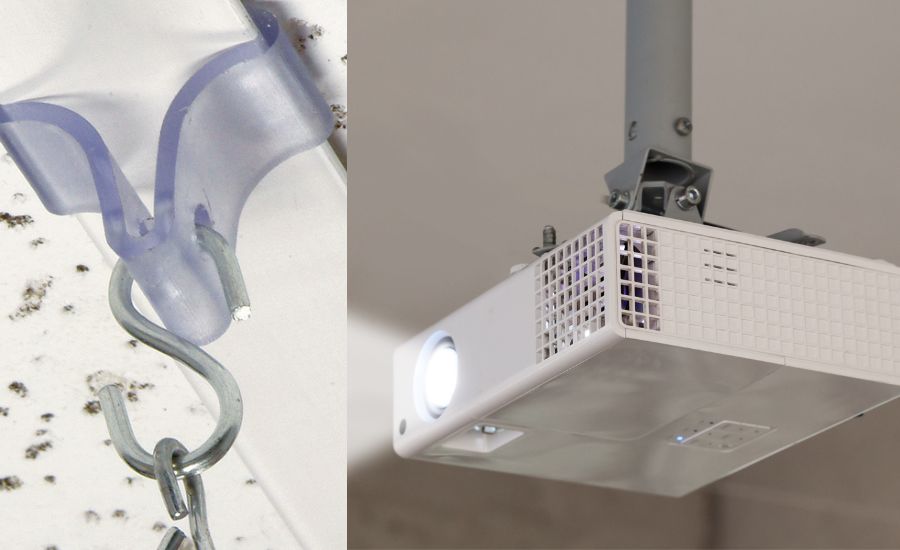
Hanging strip
For a lightweight projector or projector screen, you can use hanging strips to create a temporary ceiling mount. Use removable strips specifically designed for ceiling mount.
Ensure the hanging strips are firmly attached and capable of supporting the weight of your projector or projector screen. Adjust the height and angle by attaching the projector to the hanging strips.
Ceiling mounts with adhesive pads
If your projector is lightweight, you may consider using ceiling mounts with adhesive pads. These ceiling mounts typically come with strong adhesive pads that allow you to mount a projector to the ceiling without drilling.
Make sure the adhesive pads are suitable for the weight and size of your projector. Once the mount is securely attached, you can mount a projector accordingly.
Wall shelves or wall mounts
Wall shelves or wall mounts provide a stable platform for your projector without the need for drilling. Look for shelves or mounts with adjustable heights and ensure they are securely mounted to the wall.
Place the projector on the shelf or mount, adjusting the angle and distance for optimal projection. This method offers a more permanent solution without damaging the walls.
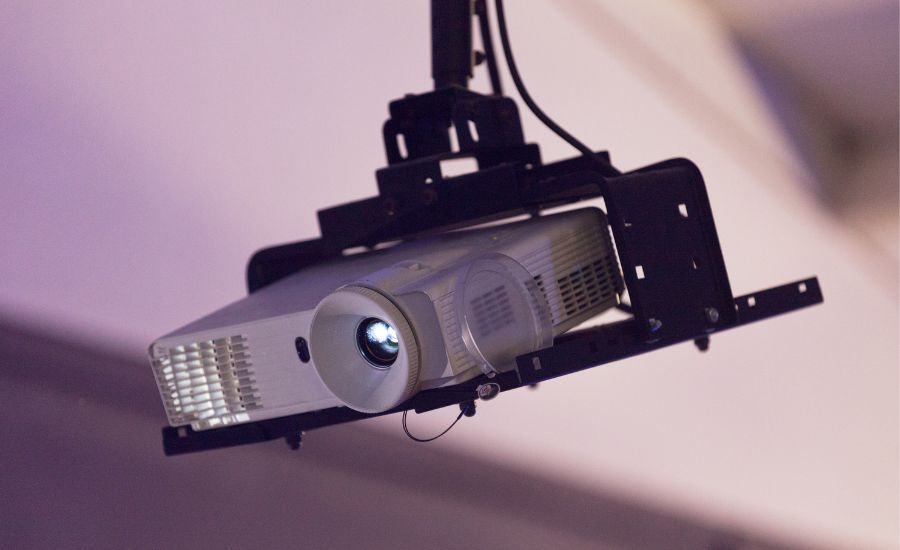
Wall mount with adhesive strips
If you prefer to mount a projector on a wall, adhesive strips can be a viable option. Look for adhesive strips designed for hanging objects on walls without causing damage.
Attach the adhesive strips to the back of the projector and firmly press them against the desired surface. Make sure to choose a flat surface and ensure that the adhesive strips can support the weight of your projector. Keep in mind that this method may not be suitable for heavier projectors or textured walls.
Wall anchors and mounting brackets
For a more secure and permanent installation, you can use wall anchors and mounting brackets.
Anchors provide stability and support for mounting brackets without the need for drilling large holes.
Choose anchors that are appropriate for your wall type and weight requirements. Attach the mounting brackets to the anchors and adjust them to fit your projector.
L-shaped wall hangers
L-shaped wall hangers are versatile and can be used to mount a projector without drilling. These hangers typically have adhesive pads on one side to attach to the wall and a hook or shelf on the other side to hold the mount projectors.
Ensure that the adhesive pads are strong enough to support the weight of your projector and that the hangers are securely attached to the wall.
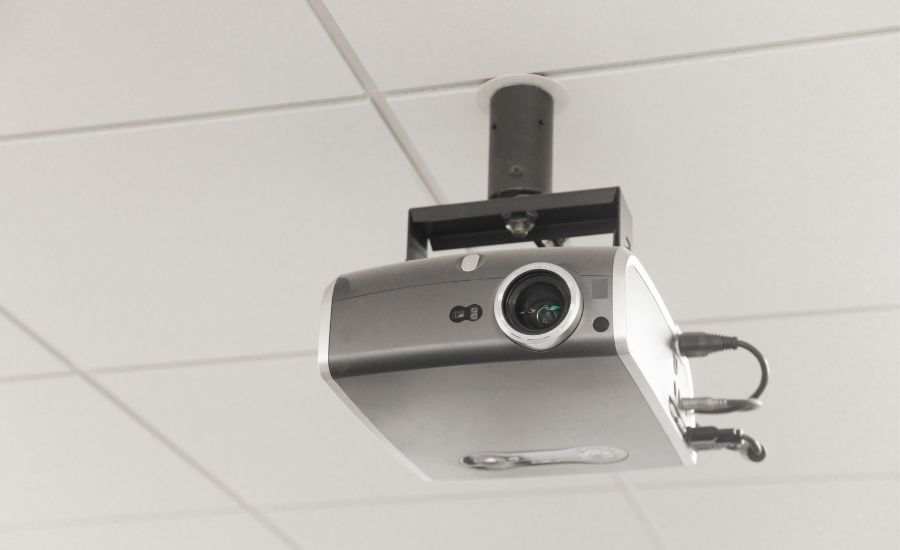
Brick clamps
If you have brick or concrete walls, brick clamps can be a suitable option for mounting a projector without drilling. Brick clamps are designed to grip the bricks without causing damage.
Choose brick clamps that are compatible with the size and weight of your projector. Attach the brick clamps securely to the wall and position the projector accordingly.
By attaching the brick clamp to the wall, you can mount a projector or projector screen without causing any damage or requiring additional installation steps.
Retrofitting existing furniture
If you have existing furniture or shelves in your room, you can retrofit them to accommodate your projector. Modify the furniture or shelves to include a dedicated projector shelf or mounting bracket.
Ensure that the modified structure or mounting bracket can support the weight of the projector and provides a stable surface.
Floor stand
If drilling into the walls or ceiling is not an option, a floor stand or projector stand can be an alternative. Look for a stand that is compatible with your projector’s weight and size.
Adjust the height and tilt of the stand to achieve the desired projection angle. Floor stands or projector stands offer stability and portability, allowing you to easily reposition the projector when needed.
Projector screen stand
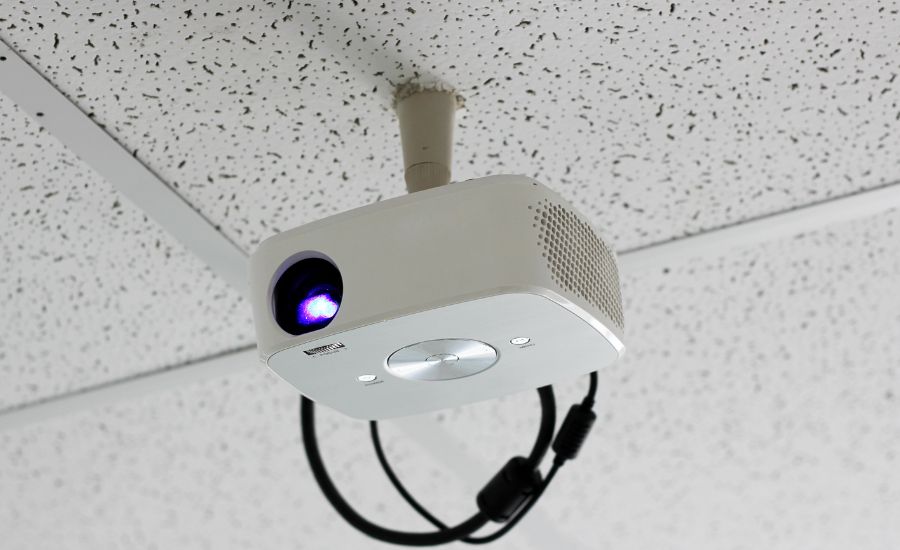
Consider using a projector screen stand. That projector stand is designed to hold the projector screen securely without requiring any drilling.
Look for a stand that is compatible with the size and weight of your projector screen. Adjust the stand’s height and angle to achieve the desired viewing experience.
Magnetic mounts
Magnetic mounts offer a convenient and removable solution for mounting projectors. To magnetic mount a projector, you need to use adhesive metal plates that can be attached to the projector and a magnetic mount that adheres to the wall or ceiling.
Ensure that the magnetic mount of a projector is securely fastened to prevent any accidental dislodging.
Tabletop placement
One of the simplest ways to mount a projector without drilling is by placing it on a stable tabletop or shelf. Ensure the surface is flat and sturdy, and position the projector at an appropriate distance from the projector screen.
Adjust the height and angle as needed to achieve optimal projection. While this method offers convenience and flexibility, it may not be suitable for larger projection setups or if you require a more permanent installation.
Pipe clamps
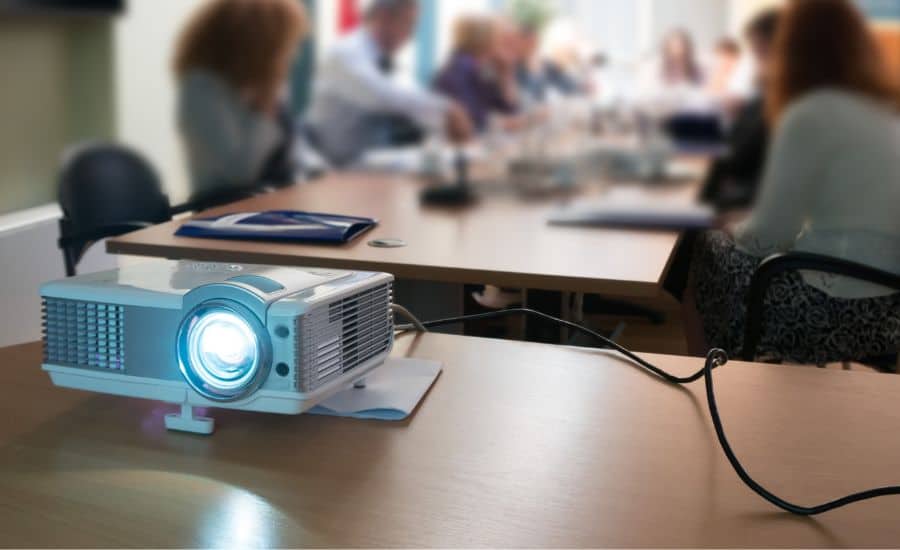
Pipe clamps are versatile and can be used to mount a projector or projector screen without drilling. Select a pipe clamp with a diameter suitable for your projector’s mounting hole.
Attach the clamp to a suitable horizontal or vertical pipe, ensuring it is securely fastened. Mount your projector or projector screen onto the clamp, adjusting the position and angle as desired.
Velcro strips
Velcro strips offer a non-permanent mounting solution for projector or projector screens.
Attach one side of the Velcro to the projector and the other side to a stable surface, such as a wall or ceiling.
Make sure the Velcro is securely fastened to prevent any accidental detachment.
C-clamp mounts
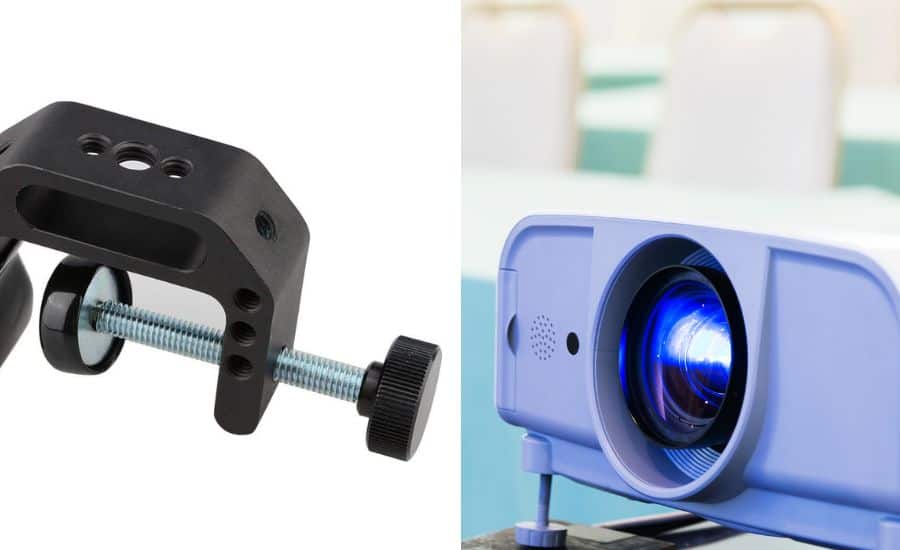
C-clamp mounts are versatile options for mounting a projector without drilling. These mounts have a C-shaped clamp that can be attached to the edge of a table, desk, or other sturdy surfaces.
Choose a location where you can securely attach the clamp, ensuring it is tightened properly. Once the clamp is in place, attach the bracket and adjust the projection angle as desired.
Adjustable poles
Adjustable poles or tension poles can serve as a stable support for your projector or projector screen. These poles extend between the floor and the ceiling, providing a secure mounting point. Attach a suitable projector mount or bracket to the pole and ensure it is securely positioned before projector mounting.
Adhesive hooks
Using adhesive hooks is a simple and temporary solution for mounting a projector. Select hooks with a weight capacity suitable for your projector, and clean the surface thoroughly before applying. Attach the hooks to the wall or ceiling and use them to hang a sturdy wire or cable, creating a platform to suspend the mount of your projector.
Tension rods
Tension rods are adjustable rods that rely on pressure to stay in place. By placing a tension rod between two walls, you can create a stable mounting point for your projector. Attach a projector mount or bracket to the tension rod, ensuring it is securely positioned before mounting your projector.
DIY mounting solutions
If you are feeling creative, you can explore DIY options using materials like PVC pipes, brackets, or cables. These solutions allow you to customize the mounting setup according to your specific requirements.
DIY PVC mount
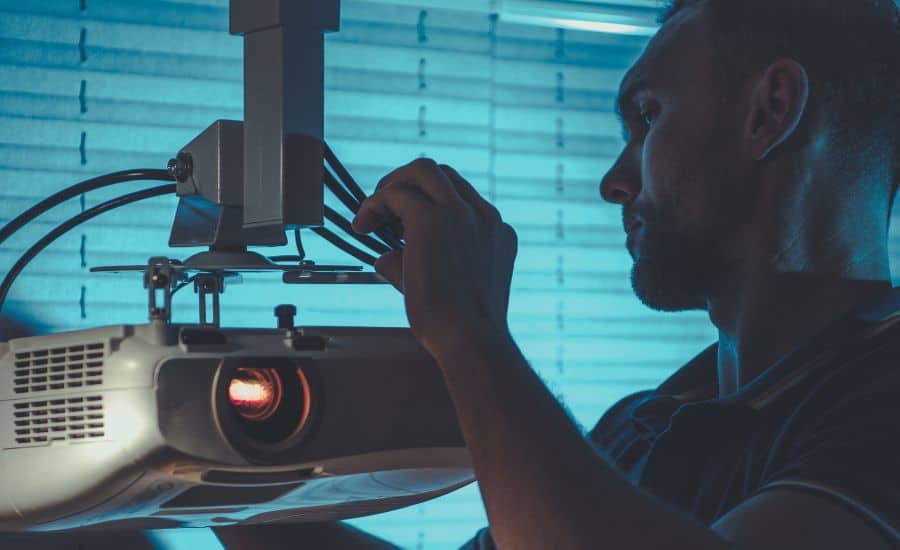
This method requires a few PVC pipes and fittings that can be easily found at a hardware store. Measure and cut the PVC pipes to the desired length and connect them using the fittings to create a sturdy frame. Attach a projector mount or bracket to the frame and position your projector accordingly.
Professional help
If you’re uncomfortable with DIY solutions or want a more permanent installation, consider seeking professional help. There are companies specializing in projector and projector screen installations who can assist you in finding the best mounting option for your space without drilling. They can offer expert advice and ensure a secure installation.
Installation of projector
Regardless of the mounting method you choose, it is important to follow these general steps:
Determine the projection location: Decide on the ideal location for your projector based on factors such as screen size, viewing angles, and room layout. Consider the distance between the projector and the screen, as well as any obstructions that may affect the image quality.
Prepare the mounting surface: Clean the surface thoroughly to remove any dust or debris. This ensures better adhesion for adhesive-based mounting solutions and prevents any potential damage to the surface.
Install the mounting hardware: Follow the manufacturer’s instructions to install the selected mounting hardware. This may involve attaching brackets, rods, or clamps to the projector or the surface.
Ensure that all connections are secure and stable.
Adjust the projector position: Once the mounting hardware is in place, adjust the projector’s position to achieve the desired projection angle and screen size. Use the height and angle adjustment features provided by the mounting method you have chosen.
Secure the projector: Double-check that the projector is securely attached to the mounting hardware and that there is no risk of it falling or shifting during use. Test the stability of the setup by gently shaking the projector to ensure it remains firmly in place.
Cable management: Proper cable management is essential for a neat and organized setup. Use cable ties, clips, or adhesive hooks to secure the cables along the mounting hardware or walls, keeping them out of the way and minimizing the risk of accidents.
Test the projection: Turn on your projector and test the projection to ensure that the image quality and alignment meet your expectations. Make any necessary adjustments to the projector’s position or settings to optimize the viewing experience.
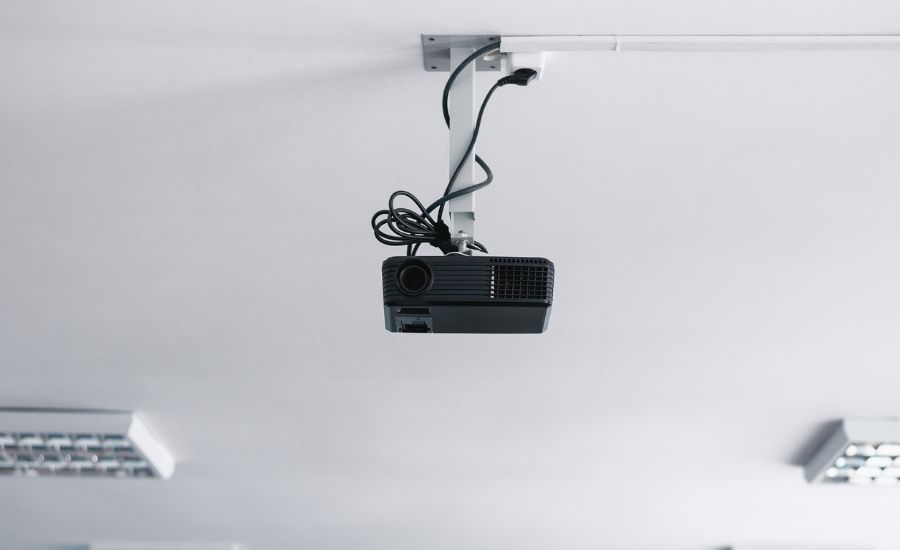
Mount projector considerations
When you need to mount a projector without drilling, it’s essential to consider the type of projection screens you’ll be using. Here are the key factors to keep in mind:
Portable projector screen
Portable projection screens are lightweight and easy to set up. Projector screens typically come with their stands or frames, allowing you to place them anywhere in your space. These screens are ideal for temporary setups or situations where drilling is not feasible.
Simply position the portable screen on a flat surface and mount a projector using one of the aforementioned methods.
Permanent solutions for new projector screen
If you have a new projector and plan to use it in the same location for an extended period, you may want to consider a more permanent solution.
In such cases, it might be worth exploring options that involve drilling, such as installing a ceiling mount specifically designed for projectors. These mounts offer a secure installation, ensuring the long-term enjoyment of your projector.
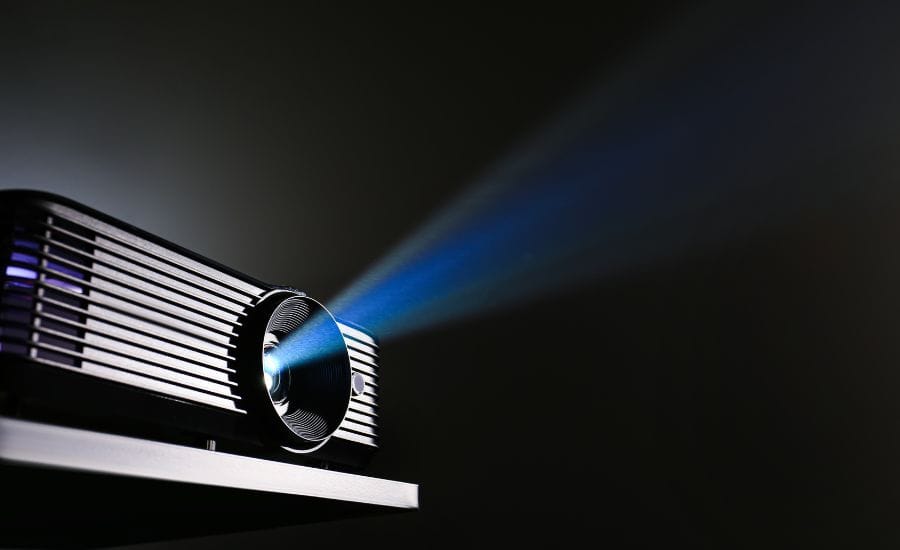
Frequently asked questions
If you have any questions about mounting a projector without drilling, there are the answers for them:
Do all projectors have mounting holes?
No, not all projectors have built-in mounting holes. Some projectors come with mounting holes or threaded inserts on the bottom or back, specifically designed for attaching projector mounts. However, there are projectors available that do not have these mounting options.
Does projector mount need to be on stud?
Ideally, it is recommended to mount a projector on a stud for added stability and weight support. Mounting a projector directly onto a stud ensures a secure and durable installation. However, there are alternative mounting options available that do not require a stud, such as using wall anchors or mounting brackets designed for non-stud installations.
Can you put a projector on a shelf?
Can you a shelf mount? Yes, you can use a shelf mount as long as the shelf is sturdy enough to support the weight of the projector. Ensure that the shelf is flat and level, and position the projector at an appropriate distance from the projection screen. Adjust the height and angle of the projector on the shelf to achieve optimal projection.
Conclusion
In this article, we explored various methods of how to mount a projector without drilling. Consider the weight and size of your new projector, as well as the stability of the chosen mounting method, to ensure a secure installation or permanent solution.
Mounting a projector or projector screen without drilling holes provides flexibility and convenience for individuals who are unable or prefer not to drill holes in their walls or ceilings. Remember to consider the type of projection screen or projector you’ll be using and ensure a stable and secure surface for the projector. With these methods, you can create an enjoyable and personalized projector installation.
With these options, you’ll get to know how to mount a projector without drilling and how to create a personalized projector installation that suits your needs and preferences in just a few minutes.
